Tuesday, September 18, 2012

Classroom Tour

Hi Blog Friends, 

I cannot believe it has been a month since the last time I posted on my blog and I have been missing keeping up-to-date with all my blog friends. I literally have not had the time to even look at the recent posts since school began.

I thought my first post back should be a classroom tour.....can you guess what theme I am using?

Here is my classroom door. I used my Cricut Expression, Cuttin' Up, font to create the letters. To make the FISH stand out, I used patterned scrapbook paper.  


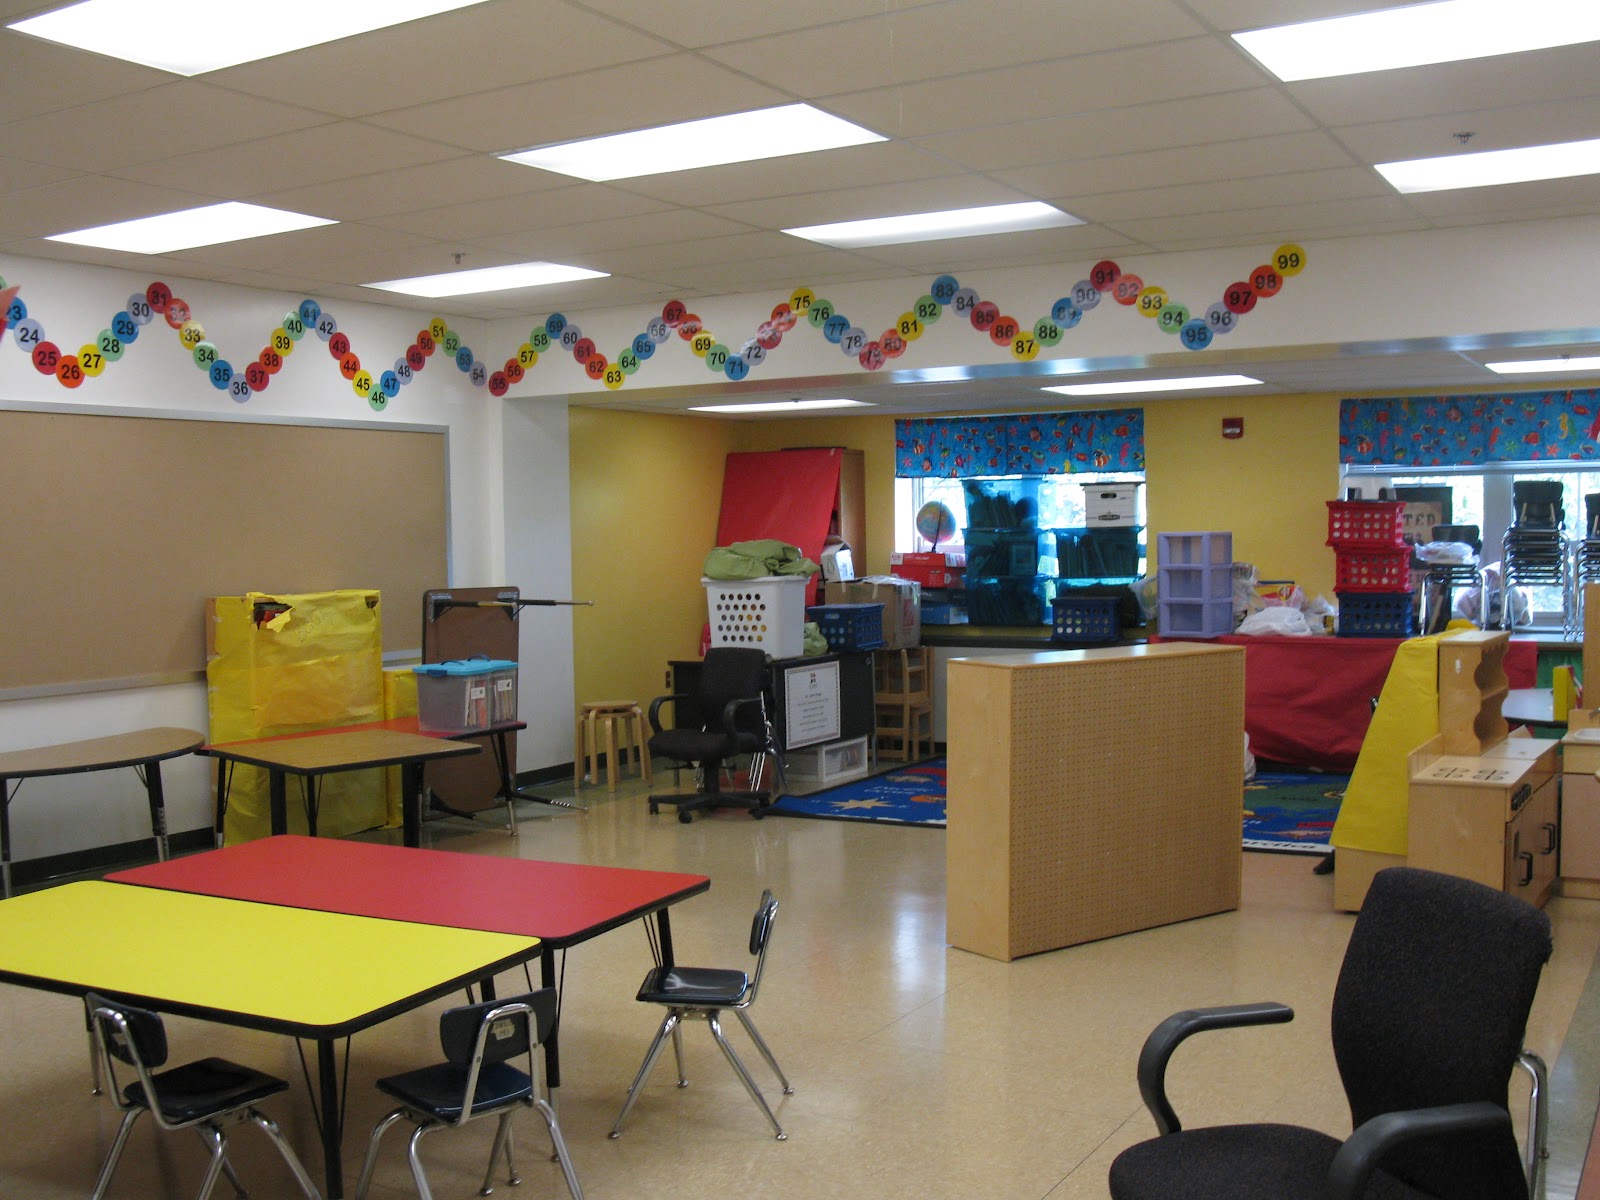
When you walk into my classroom this is what you see! I like things to look clean and organized. I am not a clutter girl. See those colored circles near the ceiling.... that is my number line. It adds so much color! 


This BB is one of my favorites. I used Hawaiian lies to make a 3-D border. The yellow sheets of construction paper will be covered with Daily 5 posters. You can also see a few ways I organize my folders. I love the blue, green, and orange totes- Thank you Michael's! 


Another BB in my classroom is my calendar. See the green square? Each day we add a puzzle piece....on the 100th day of school the puzzle will be finished. Students love watching the puzzle be built. It is a picture of three baby bunnies this year. 


Here is my sink and storage area.... I love fabric and curtains to cover my junk! 


Here's another view.... the aqua BB is my word wall.


Here is my job chart. Simple....yet cute! 


I love my Lakeshore caddies for each table. 


Student mailboxes and math manipulatives. Also chair pockets to be put on each chair and various journals to go in the chair pockets. 


Lastly, the only 2 store bought posters in my class.... I love these two quotes. 


 Hope you enjoyed peaking into my classroom!  Another post coming tomorrow! 


Wednesday, August 15, 2012

Classroom Day 1

That time of day is here and I officially started working in the classroom. Here are my photos from day 1.....a long way to go!

Tables are all over the place, but I do love that I do not have to put up my number line again...see those dots on the wall. 


I organized all my manipulatives before I left school. I put paper over my mailboxes/math manipulatives, and took it off and found this shining and ready for a new year! 


Another view of the classroom, boxes and stuff everywhere!


Guided reading table with all my stuff: computer, books, ect. 


I did organize my reading street books before I left. Love this idea- I got it from Jessica at Under the Alphabet Tree.


Day 2 is tomorrow and my wonderful co-teacher and I are getting things ready for K Assessments!

Now off to use my Cricut and make BB titles! 


Teacher Supply Toolbox

Hi Blogland,

I am back from vacation and it was truly magical! Does Disney World with your husband get any better.....yes, when your best friend comes to visit you and then asks you to be her MOH!! 

Now the school panic is starting to set in as I officially have 3 weeks until school begins! Eeek! Lots to do and create- new math program, new social studies units, and new Kinders. 

I recently was on Pintrest and came across one of my teacher friend's pin (see the picture to the left). It was a picture of teacher supply toolbox labels. I am pretty obsessed with getting organized so I knew this project was for me! 

I found the labels from a fellow teacher on TpT. I used her idea and changed a few things around to fit my needs. 


First I went to Home Depot and bought a 22 compartment supply toolbox. It was $15 and I found it in the tool department. There are multiple sizes, but this one was perfect. 


Second, I printed my labels onto card stock and cut them out. 


Third, I used double sided tape and attached the label to the inside of the drawer. Viola! Isn't it fantastic? 


I was in school today and filled it with all my supplies. I love it! AND I love Pintrest! 

Credit goes to: http://www.bakingcraftingteaching.blogspot.com/2012/07/so-lets-try-out-this-monday-made-it.html and the original owner Kristin Doyle on TpT. Her link is bad, so sorry for not giving her further credit. 


Have you done any Pintrest crafts lately?


Friday, July 27, 2012

Jitter Glitter

The day before the first day of school is Visit Day (Open House) at my school. This is a special time for all students and parents, but especially Kinders as they prepare for such a big day- THE FIRST DAY OF SCHOOL!

To calm the nerves I send home the ever so cute Jitter Glitter. What is Jitter Glitter you ask? 

It is simply a small pinch of glitter that students put on their head at bedtime. Yes, it may sound a little strange -but I had so many positive comments about it last year. 

So how do I package it and send it home? 

Here is what you need:

  • Extra-Small ziplock bags -I got them from the bead section at Michael's
  • Glitter -any color
  • Envelope-regular letter sized 
  • Labels-see below
  • Poem-see below 
How to assemble:
  1. Put a pinch of glitter in each ziplock bag. One bag per student.
  2. Print out the poem, tri-fold it. 
  3. Before you stuff the poem in the envelope, place the small bag of glitter in it. 
  4. Seal the envelope. 
  5. Place the label on the outside. 
  6. Viola! 
Click for the FREE labels and letter

I know I found the poem on the internet, it is not my own creating. If anyone knows the author, please let me know and I will give full credit. 

Disclaimer- if you decide send out Jitter Glitter, you must have the glitter on your head to show for it. The Kinders WILL SHOW YOU THEIRS!! 


Thursday, July 26, 2012

Back to School....Why so soon?

It's hard to believe in less than a month the classroom will be all set-up and a week of teacher meetings will be in full swing. If anyone out there is like me, they are holding onto summer tightly and trying to soak up every ounce. From vacations to just sleeping in a few extra minutes, I have been loving the summer life- but at the same time, I am excited to meet a new group of Kindergarten students and start a new adventure this year. 


With that said, I have begun to look over my 'Back to School' activities and I decided to share my postcard idea. 


After I receive my class list, I am eager to meet my students and their families. I introduce myself to them through using a simple and sweet postcard.  I always use the free online  Wordle program that takes words and creates  a one of a kind image. These images are called 'word clouds' and they can be used for almost anything. You simply type in each student's name, your name, and your grade level. You then CREATE it! You can modify the colors, fonts, sizes, and much more. Wordle can be a little tricky to use, but once you play around with....you will get it! The best thing about the program is that  they turn out so darn cute! 


Once I have played around with my image, I save the Wordle as a PDF. I open the PDF using Mas'c 'Preview' Program. I print the image and select it to be printed multiple times on one page, four to be exact. This gives you the perfect postcard size. I then print the image on heavy card stock. 


To create the back of the postcard, I use Microsoft Word. Below you can see the message I used last year for my students. I write in each child's name and sign my name at the bottom. I address the postcards and attach a stamp, then they are off! 


Dear _____________,


Welcome to Kindergarten! We are going to have a blast learning together this year!

I have been busy getting the classroom ready for school and the only thing missing is you!

I look forward to meeting you at Visit Day on September 6th. Come meet your teachers, classmates, and other families!

Let our journey begin!

______________ sign name

Explore Wordle! Its an awesome resource! 

So my first official post! Wahoo! 


Monday, July 23, 2012

Hello, Here I AM!

After years of enjoying everyone else's teacher blog, I decided it was my time to enter the fun world of blogging. So, here I am! I cannot wait to share the happenings in my Kinder classroom.